
Scheduling posts in Publish allows you to plan content in advance, ensuring a consistent posting schedule without manual publishing.
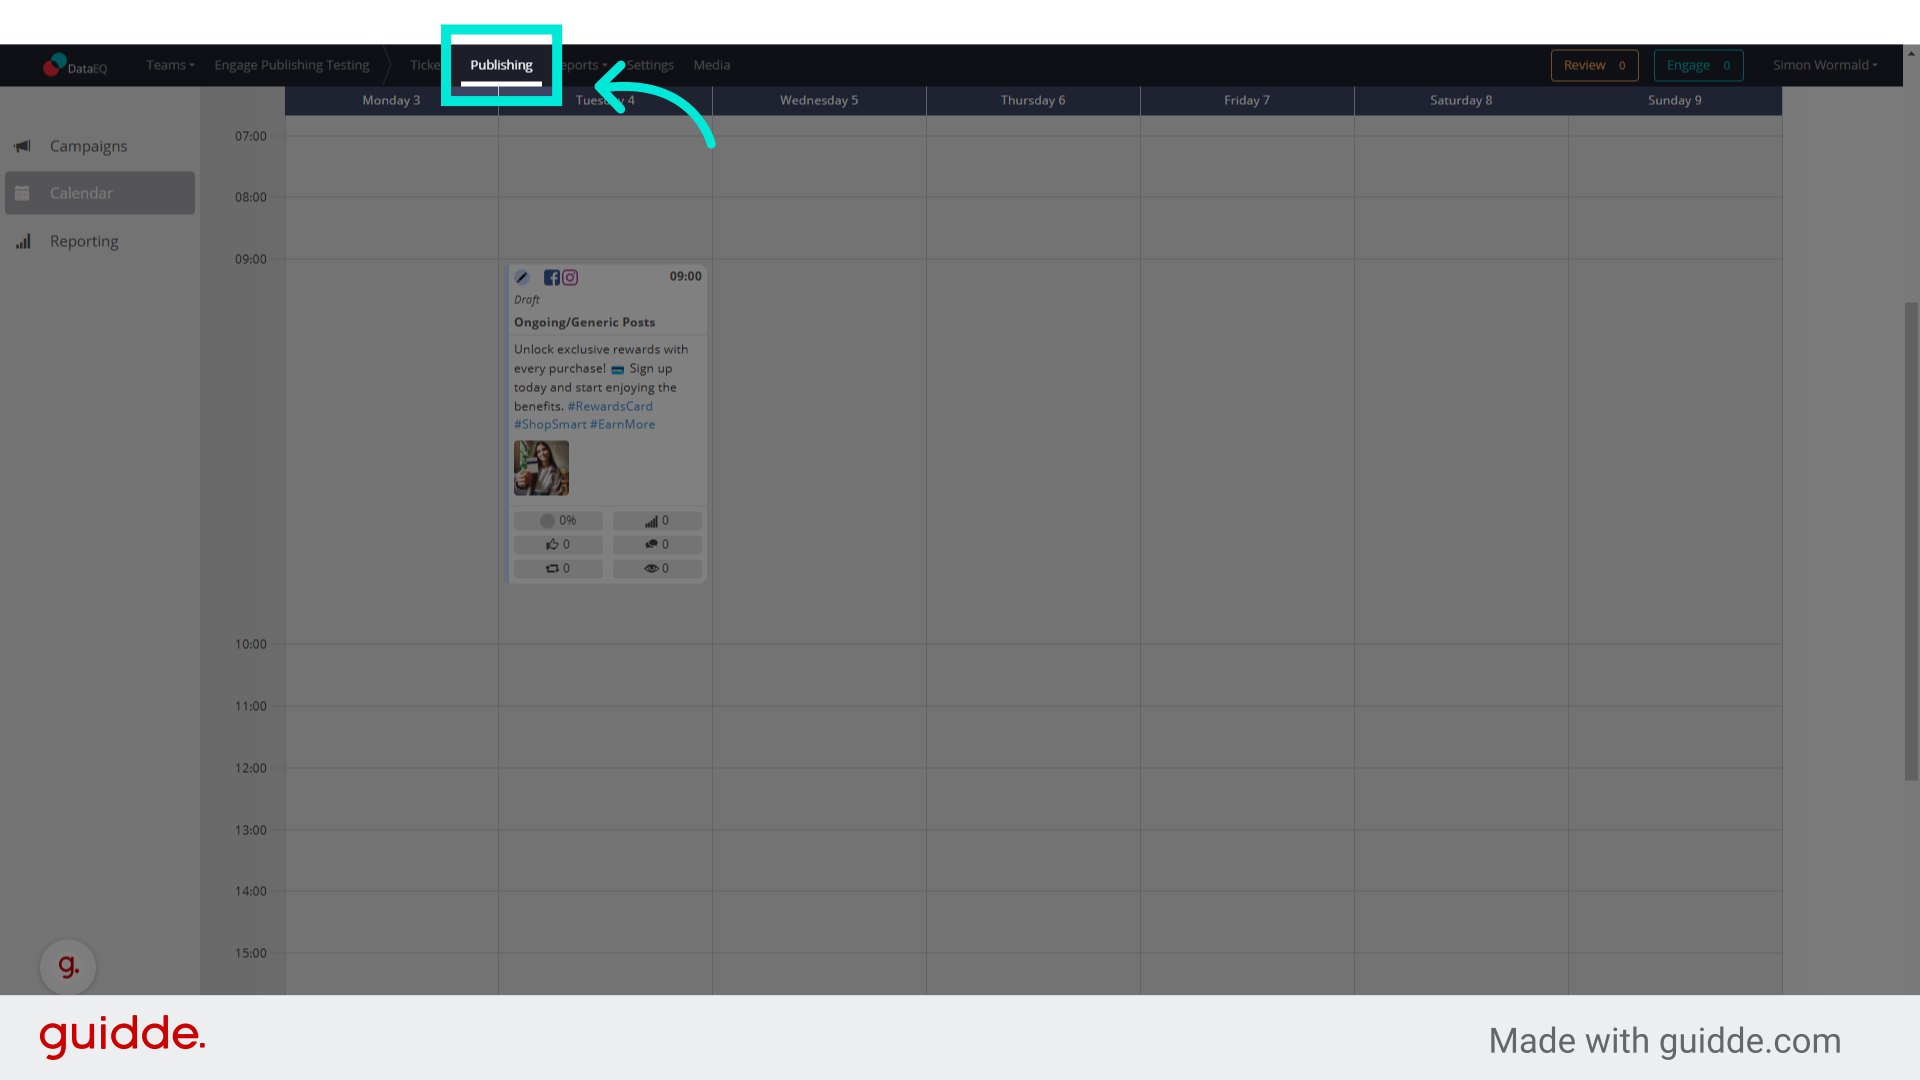
How to Schedule a Post in Publish
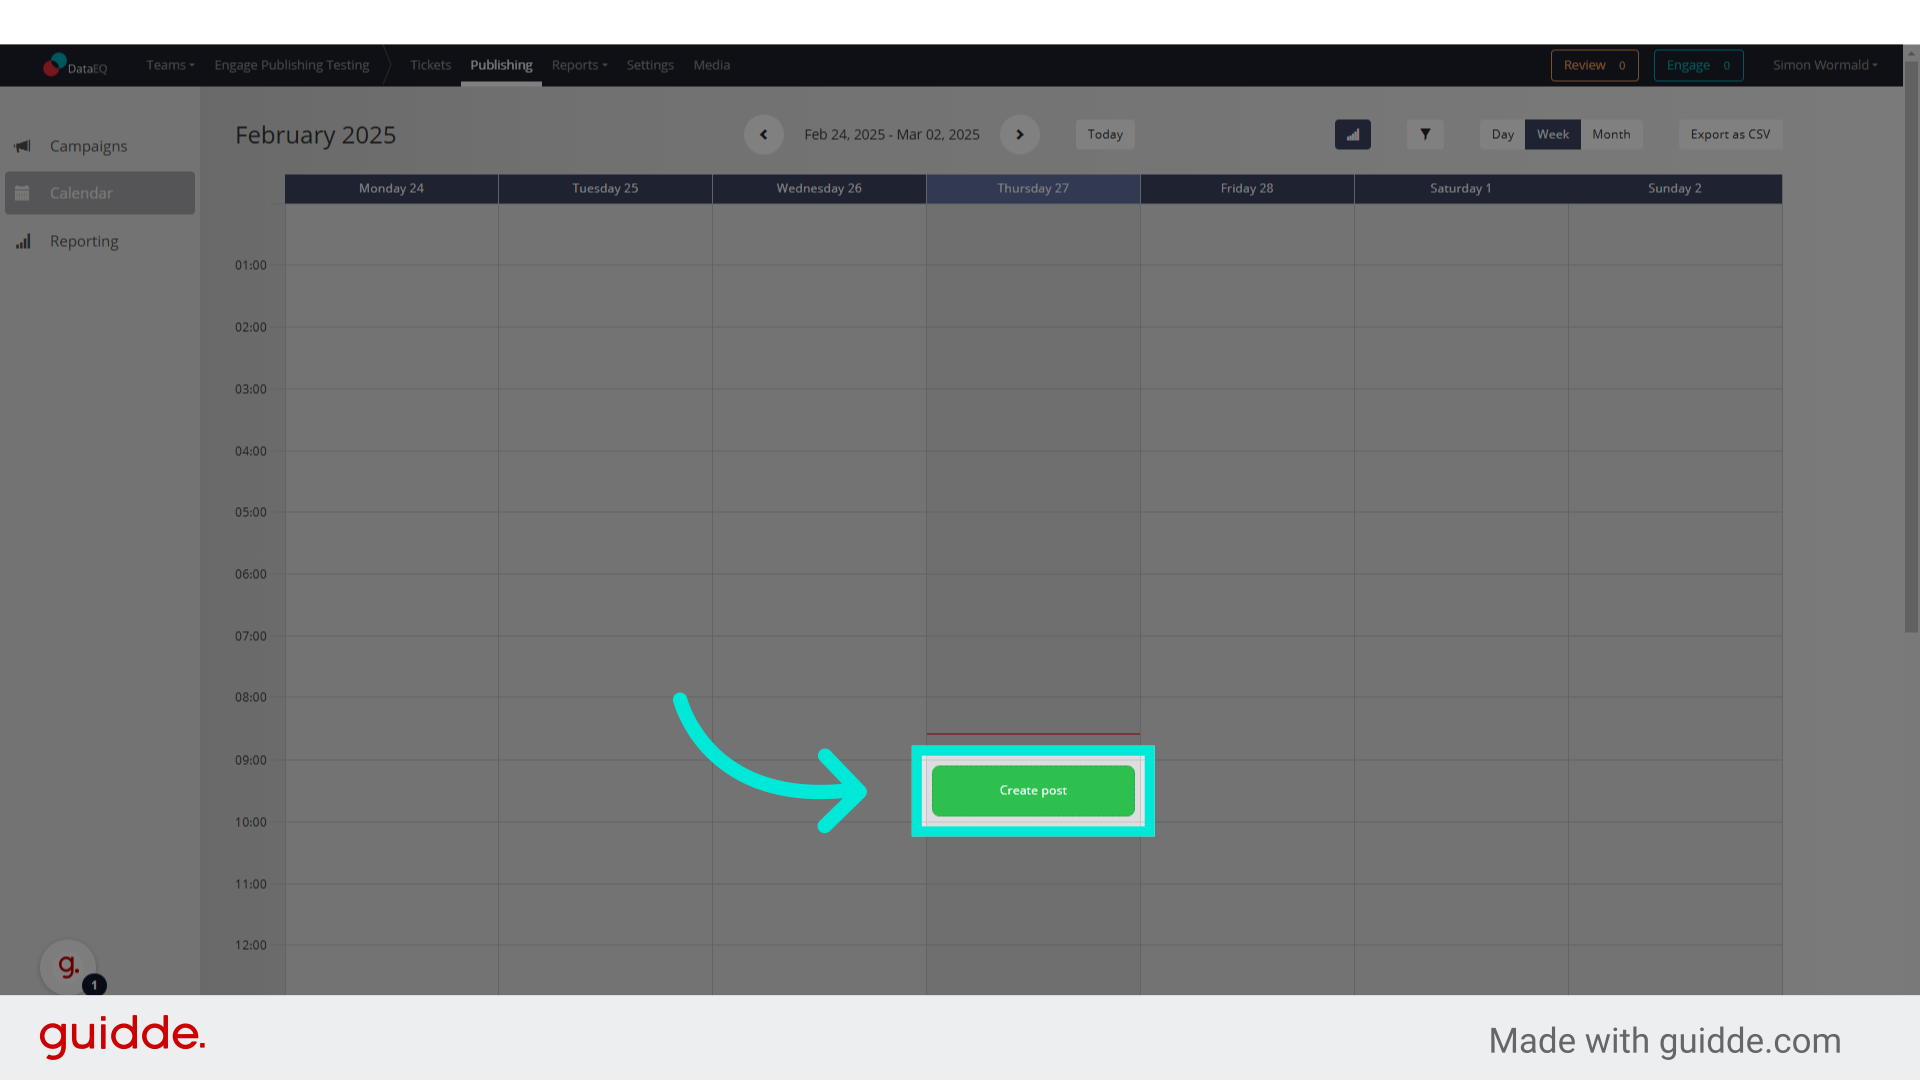
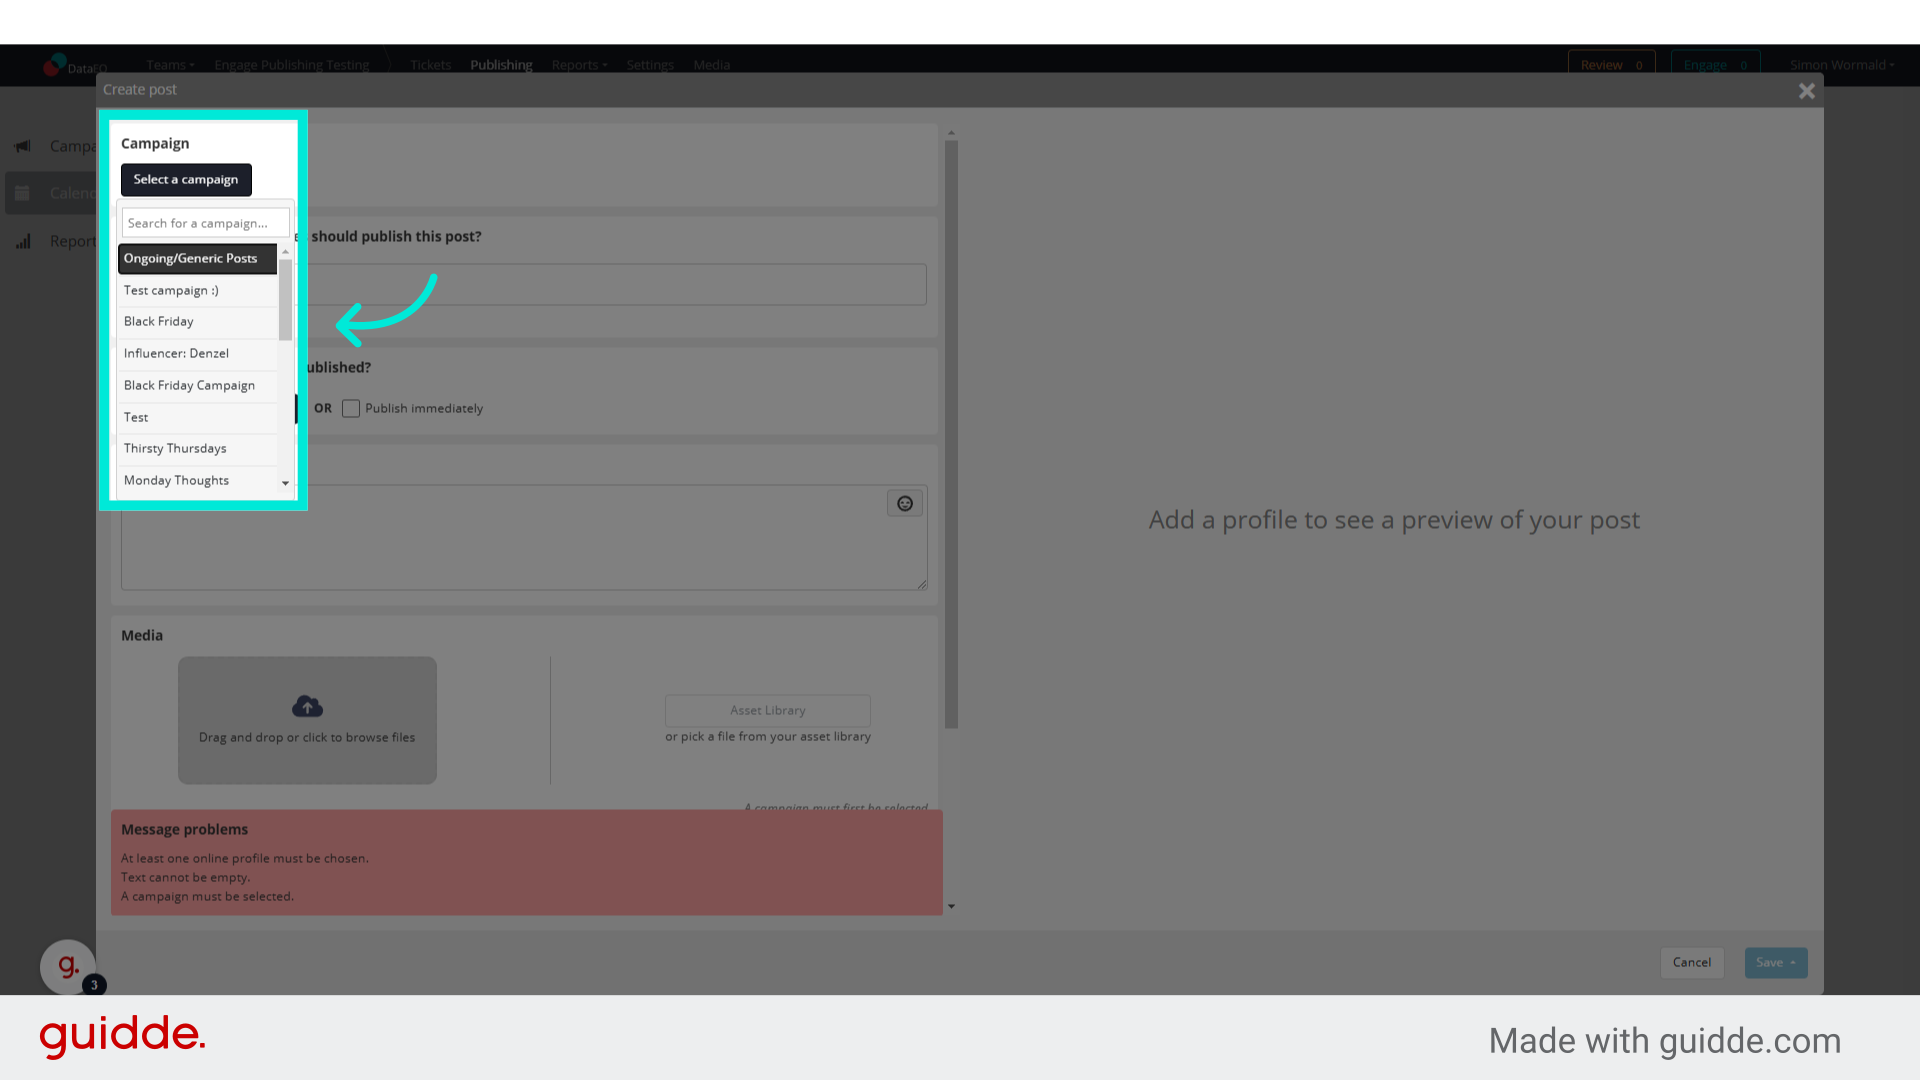
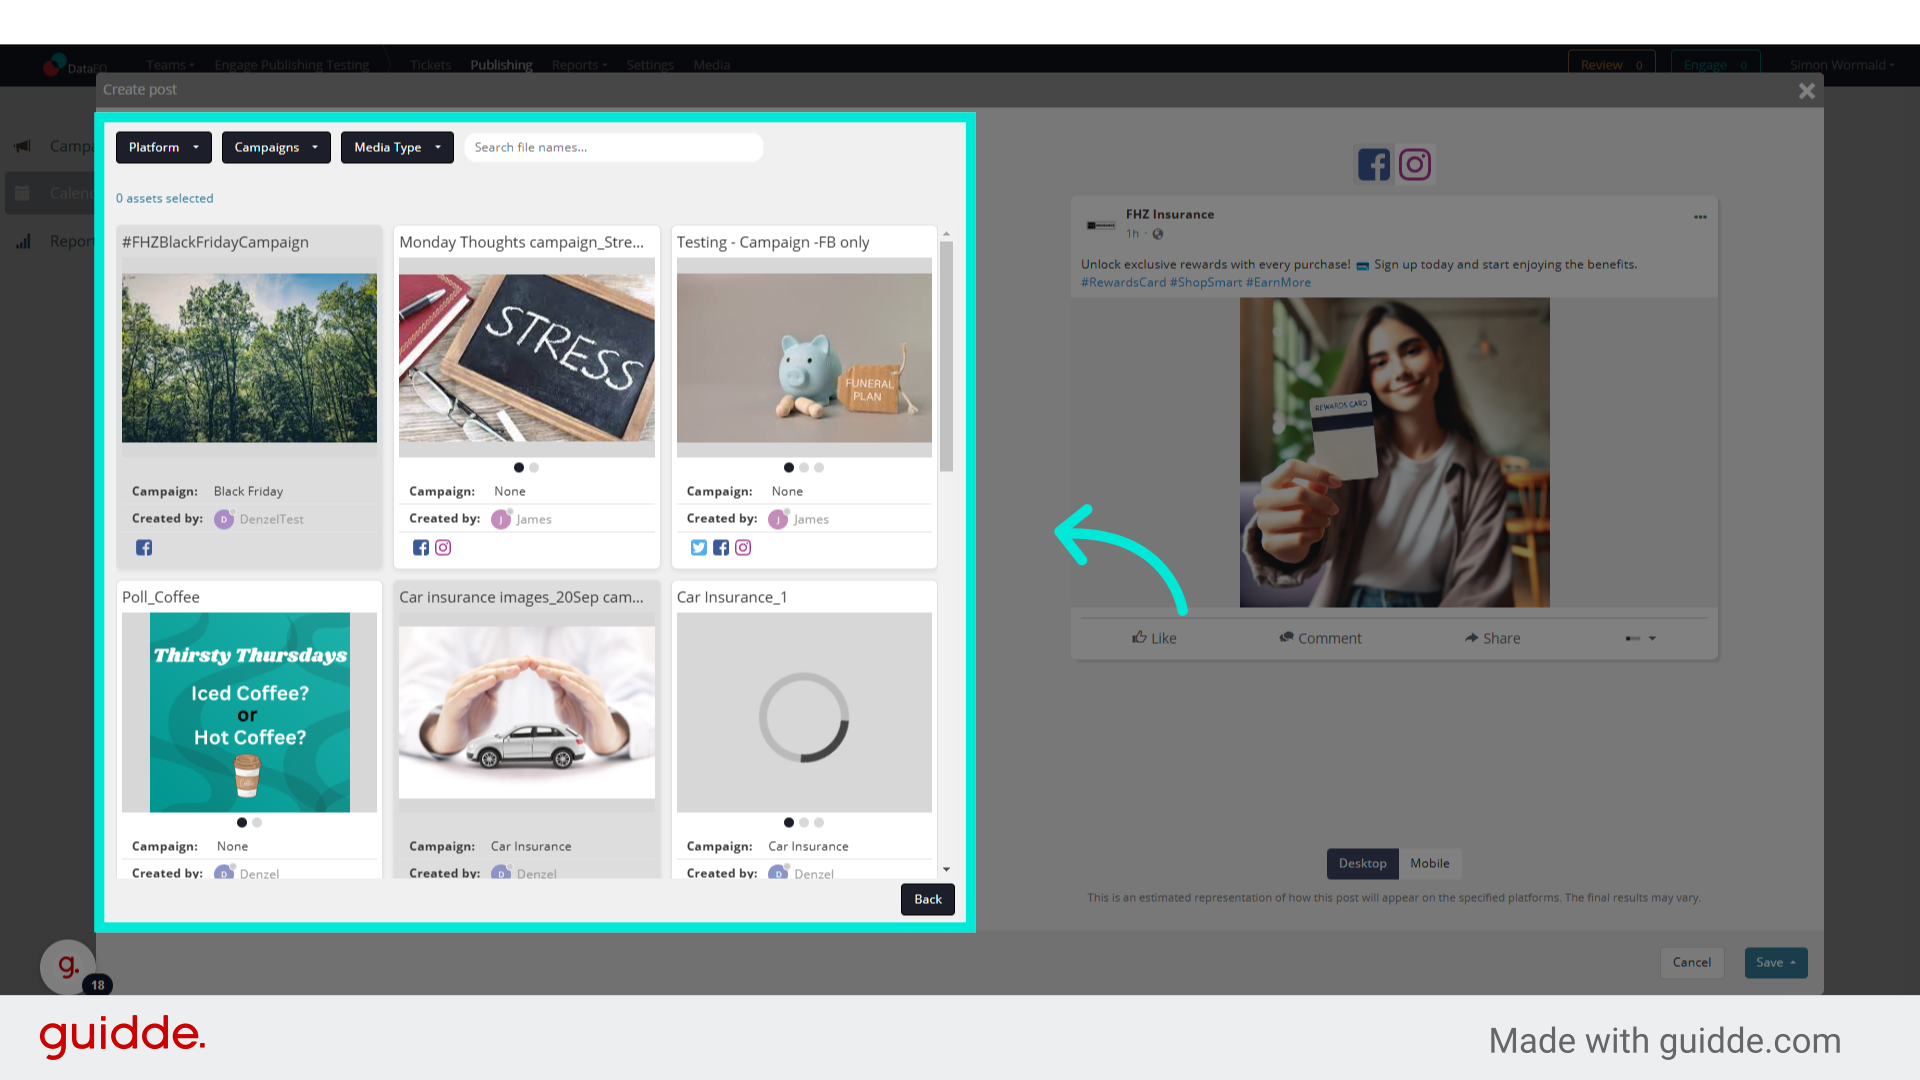
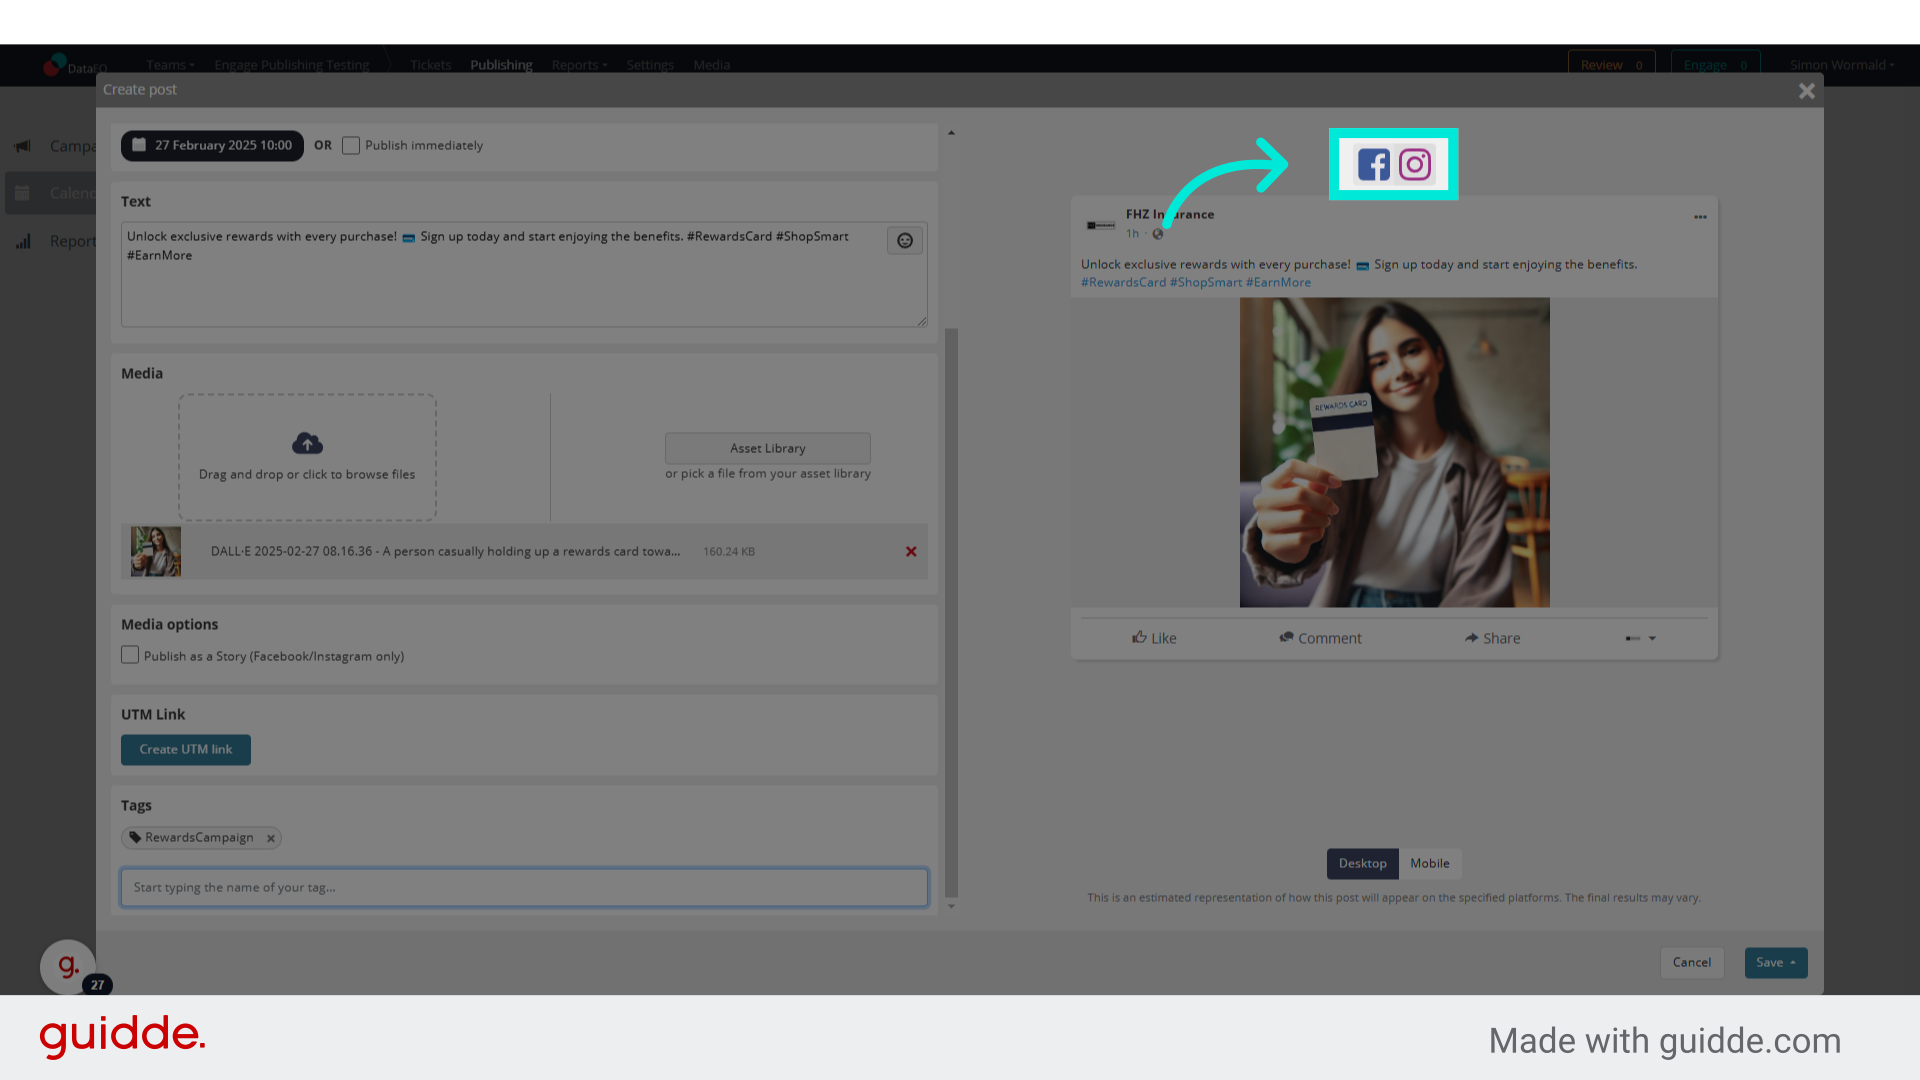
Step 1: Create a New Post
-
Click the Publisher icon in the bottom-right corner.
-
Click Create New Post.
-
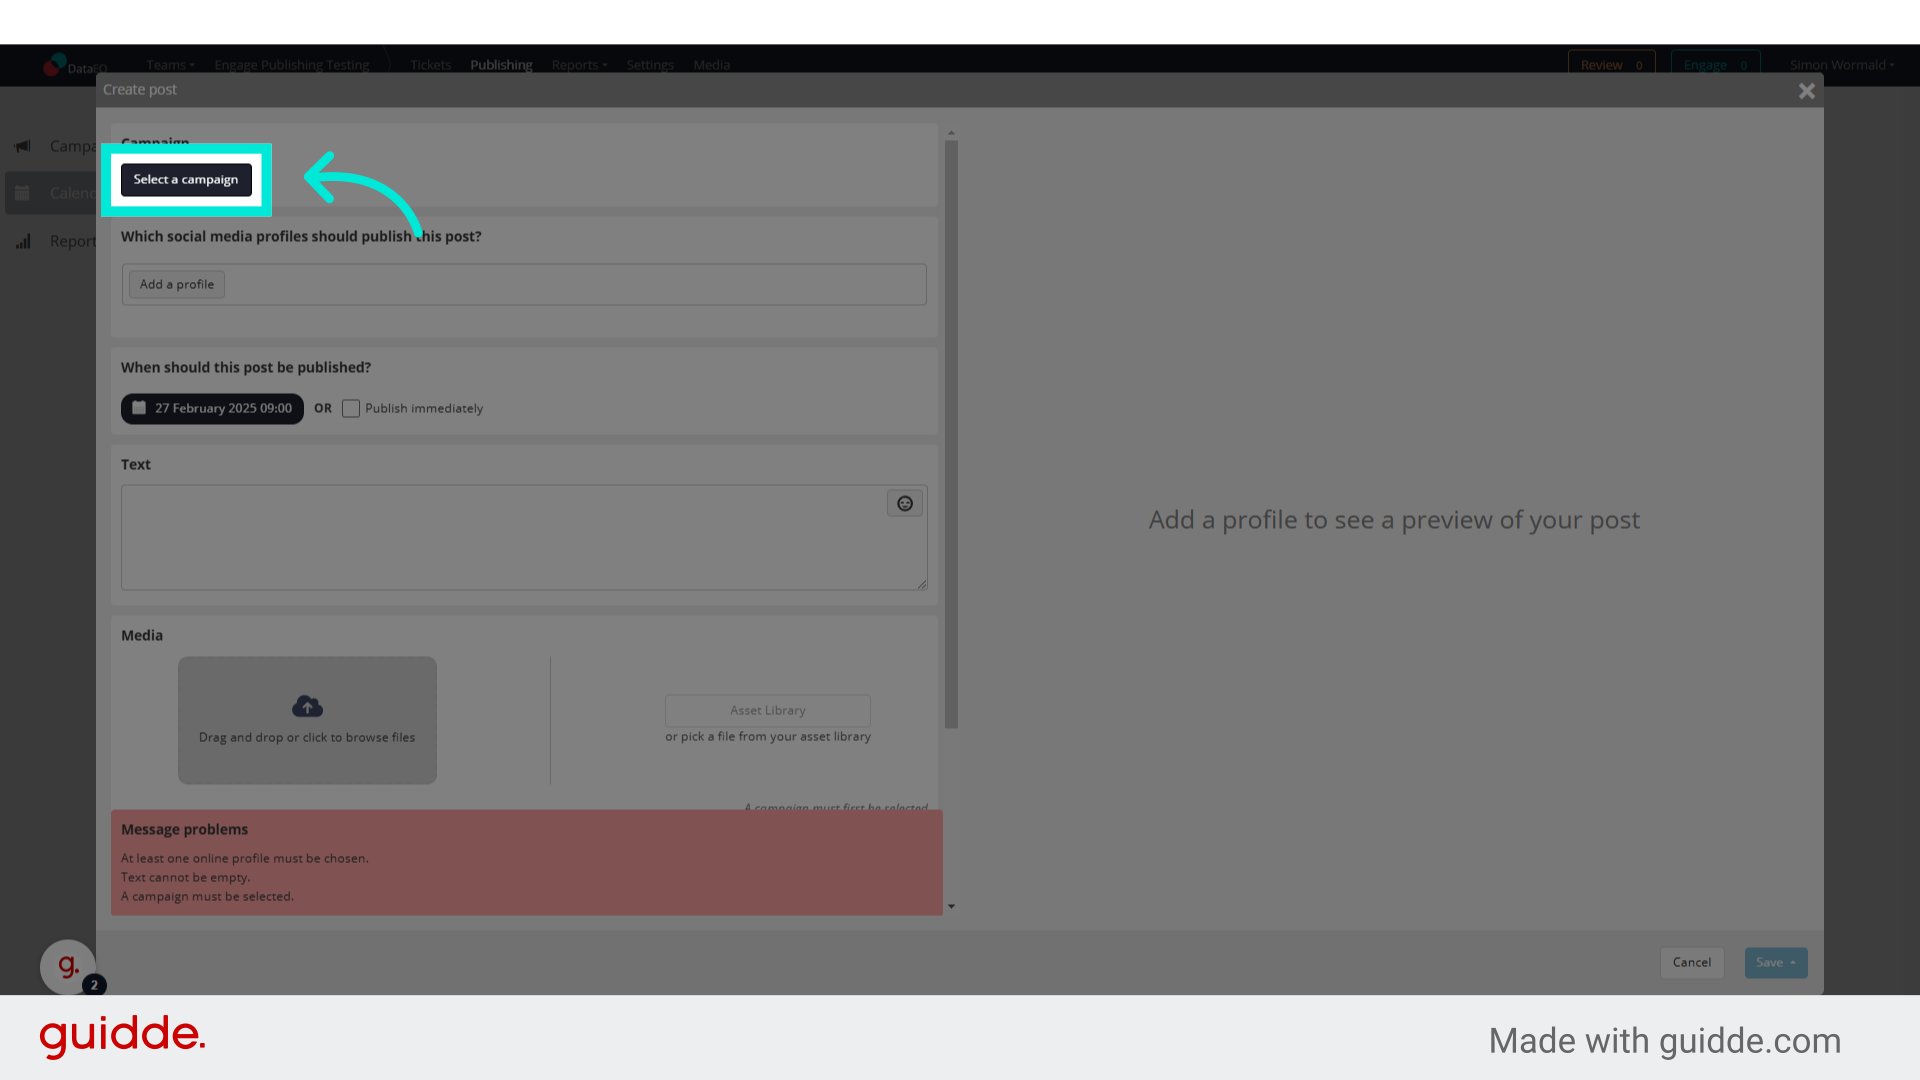
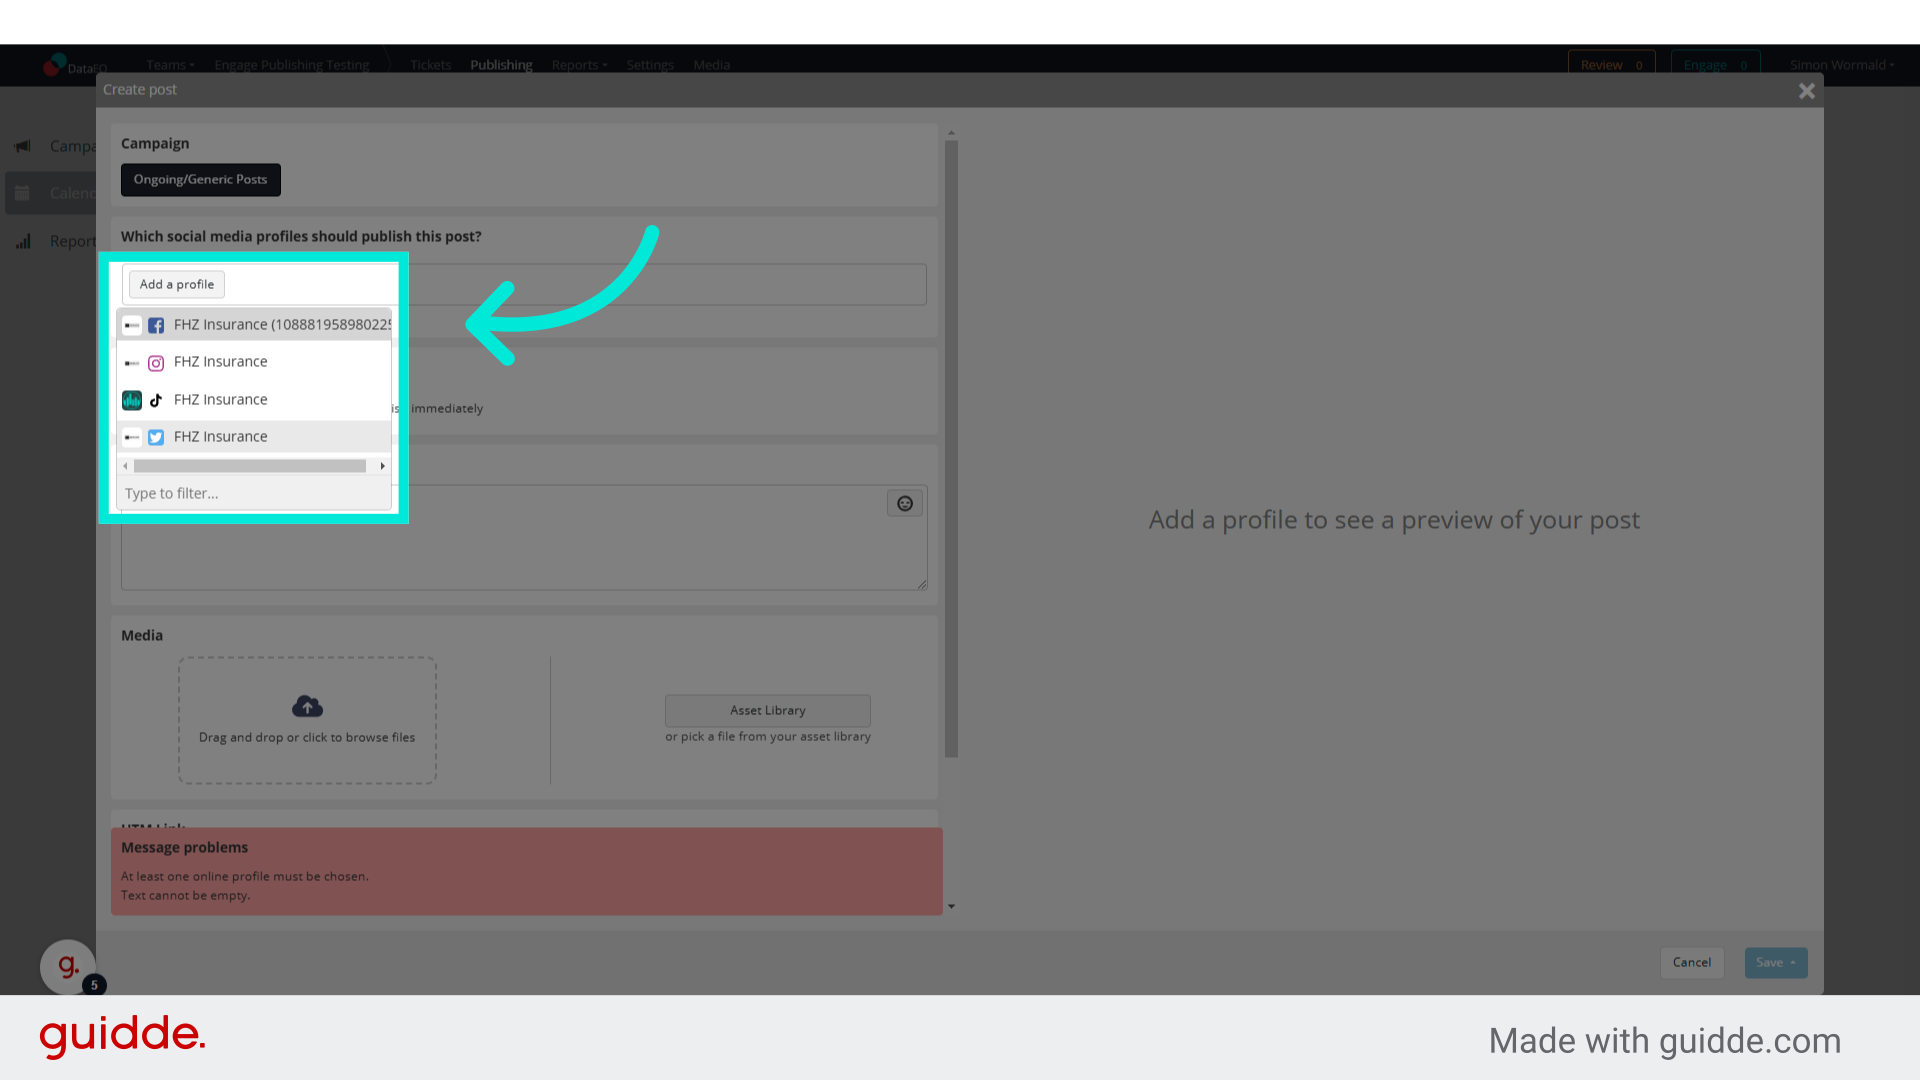
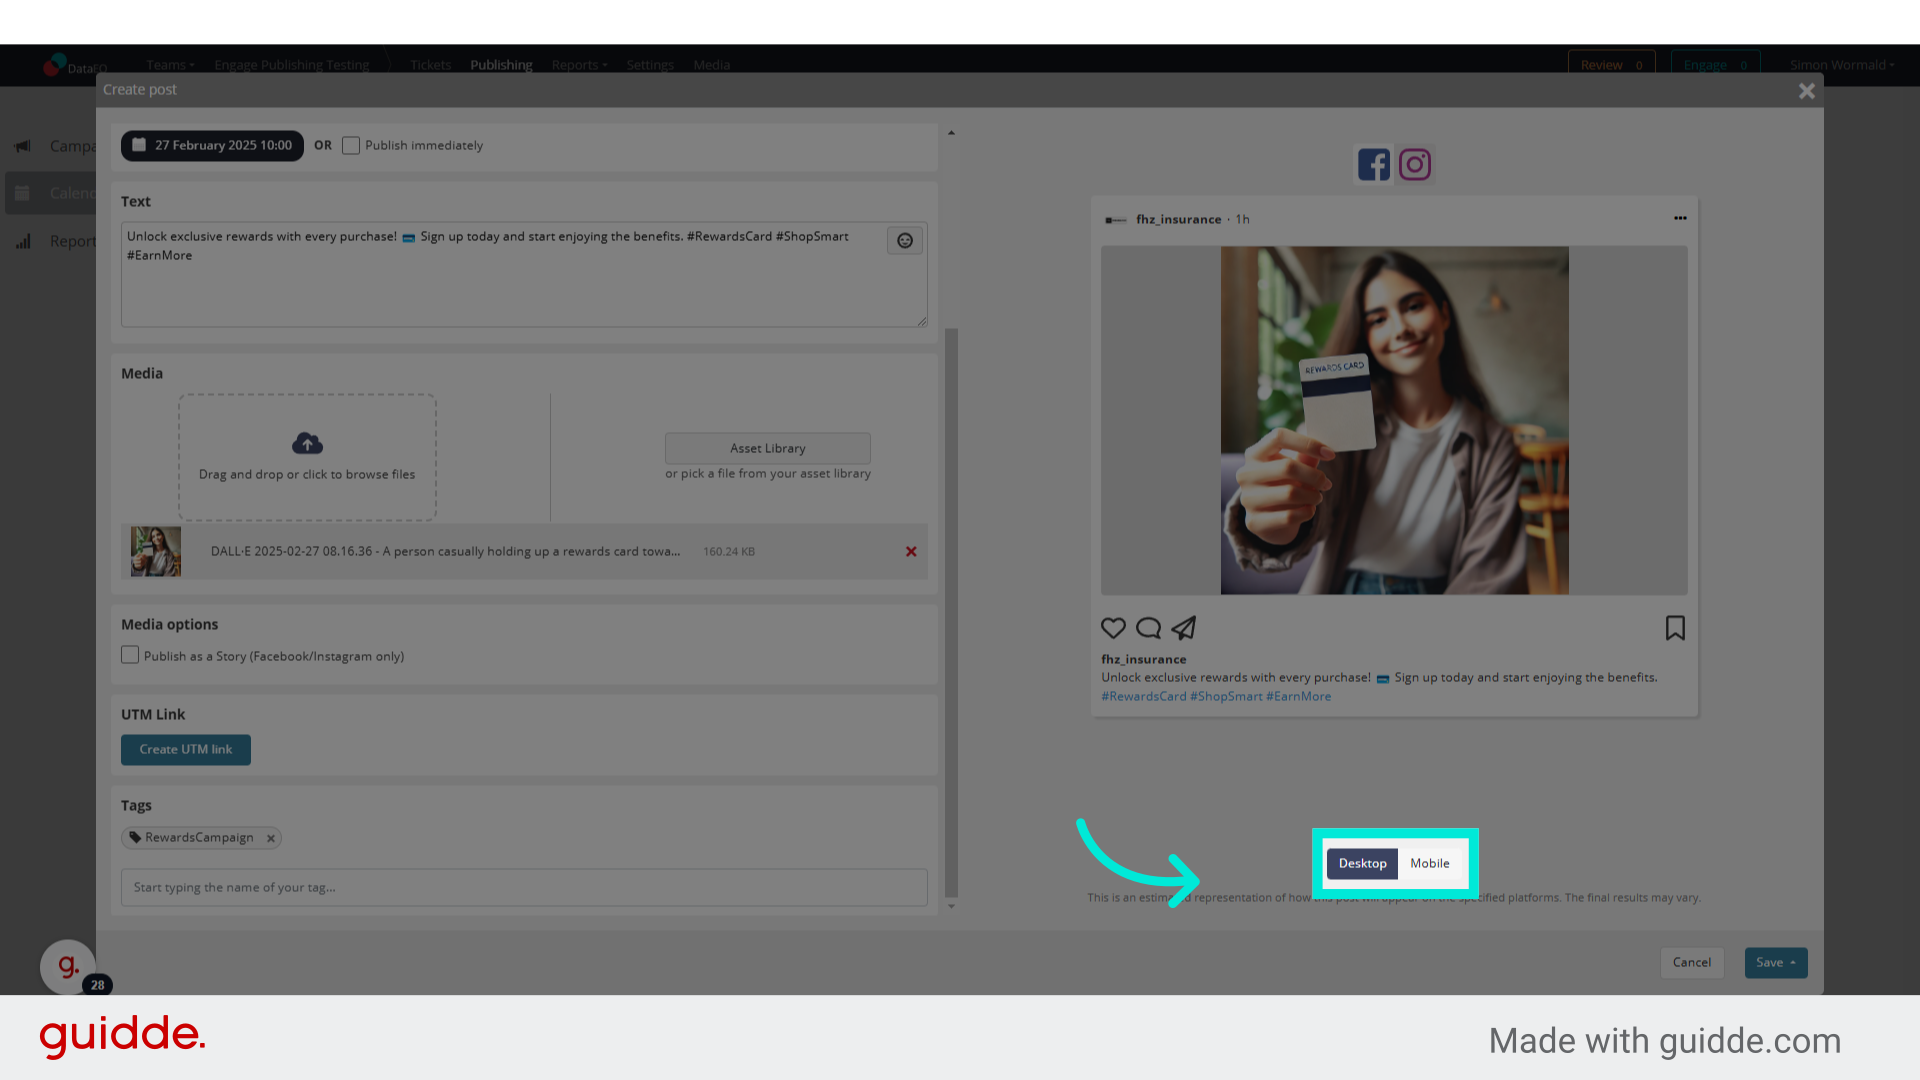
Select the social media profiles where the post will be published.
-
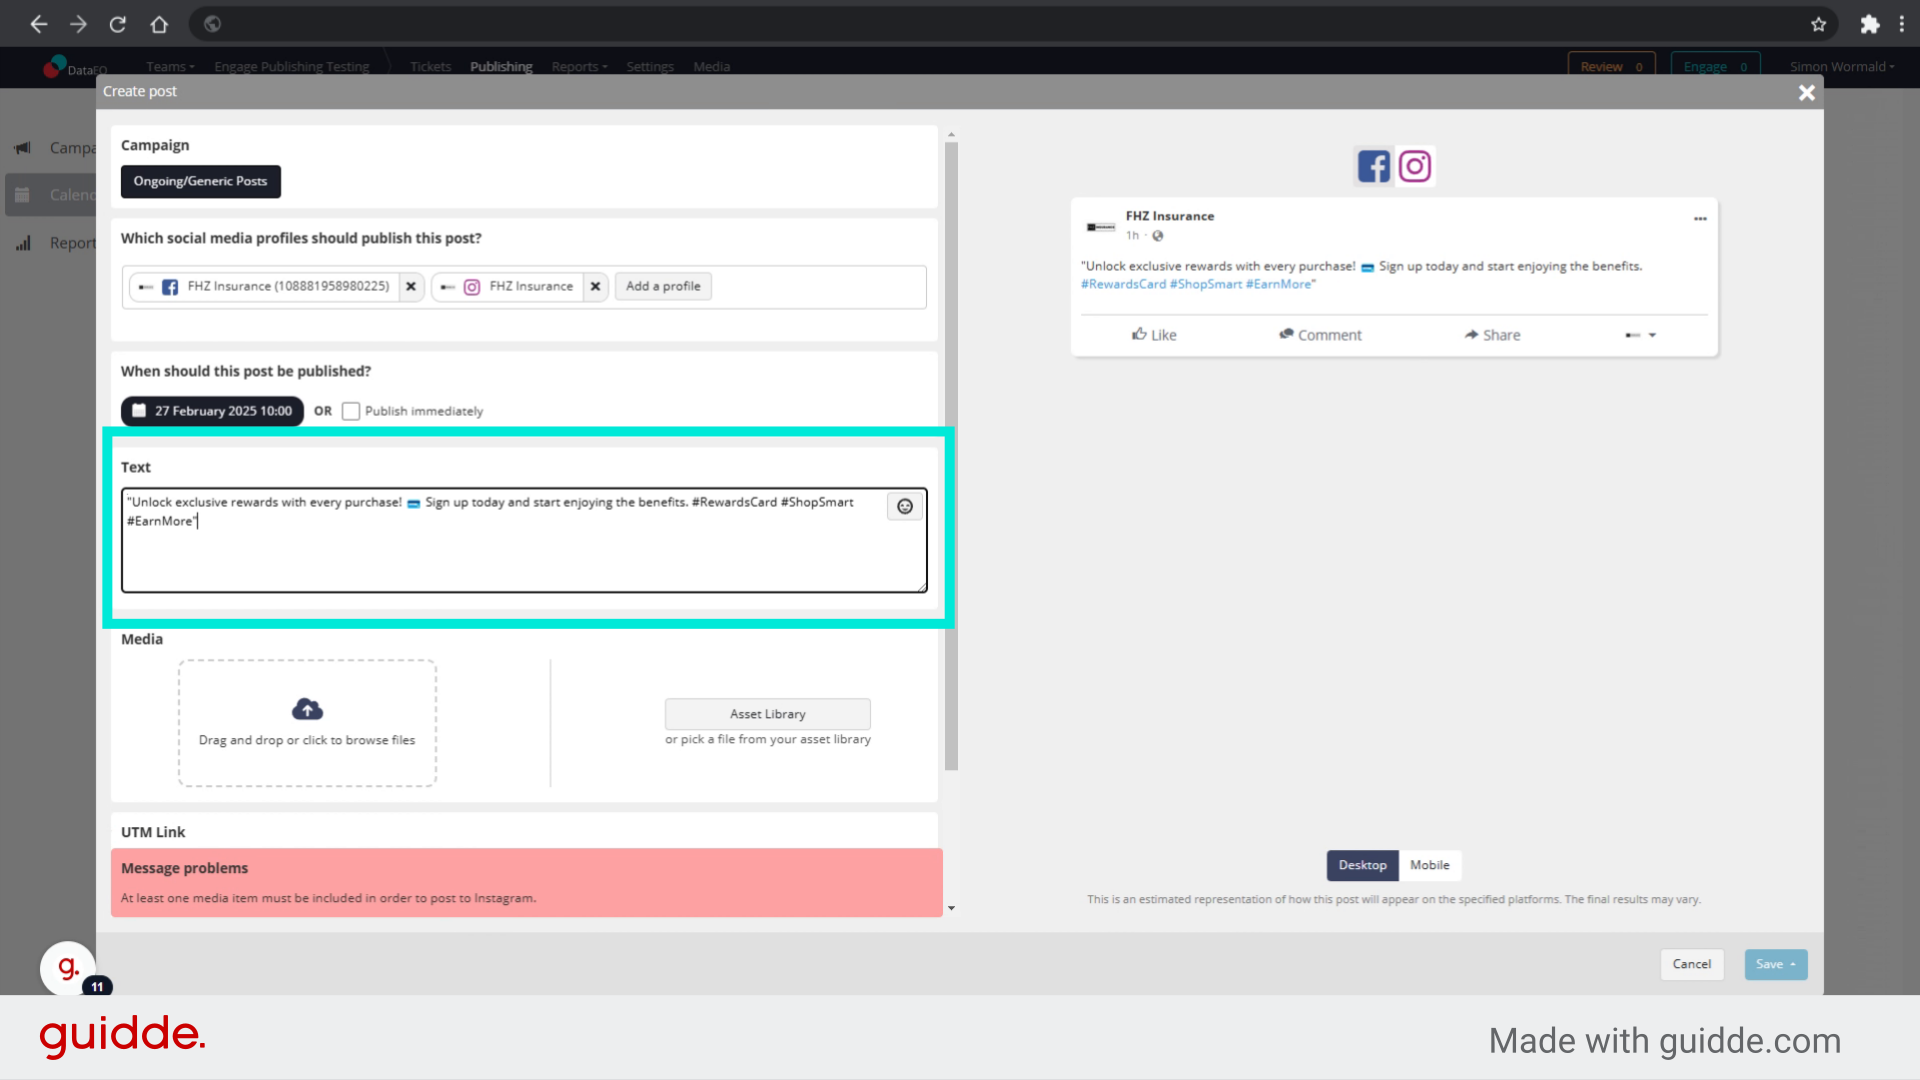
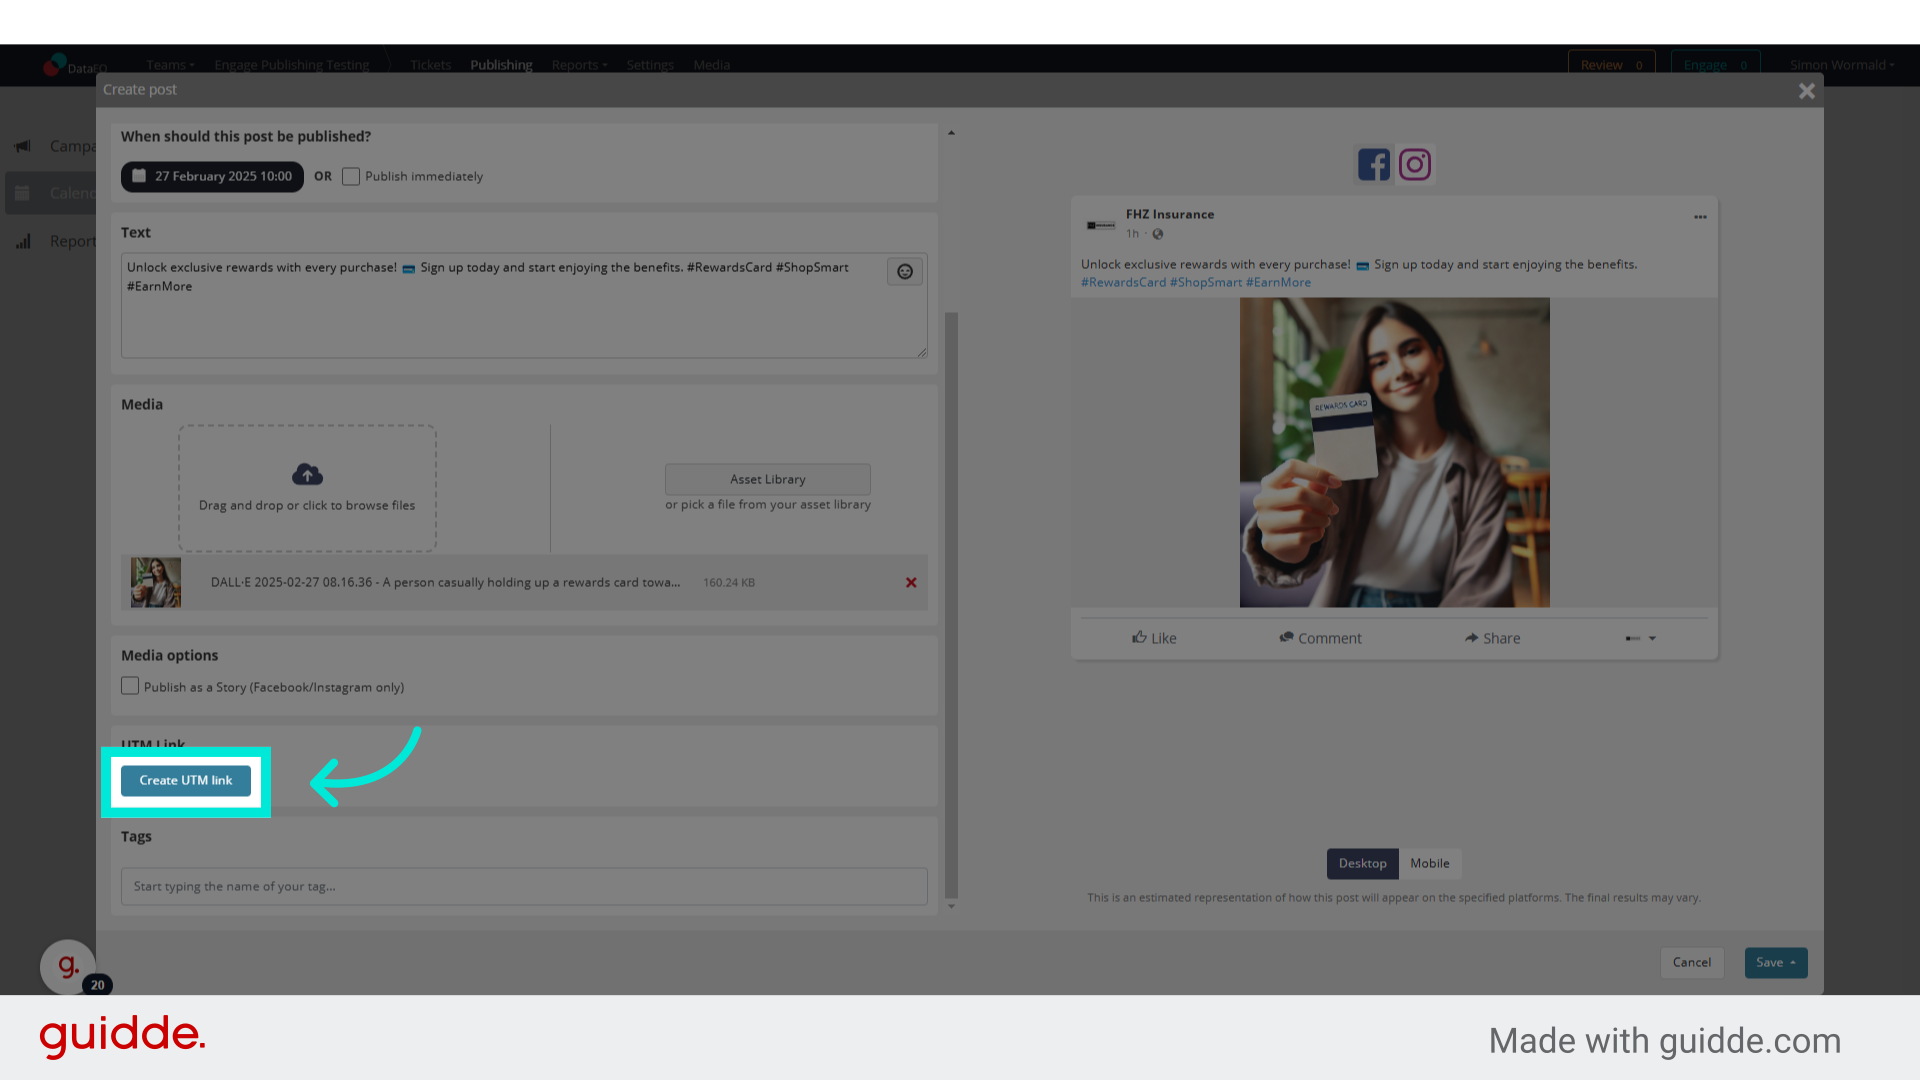
Enter your post text and add any hashtags, mentions, or links.
-
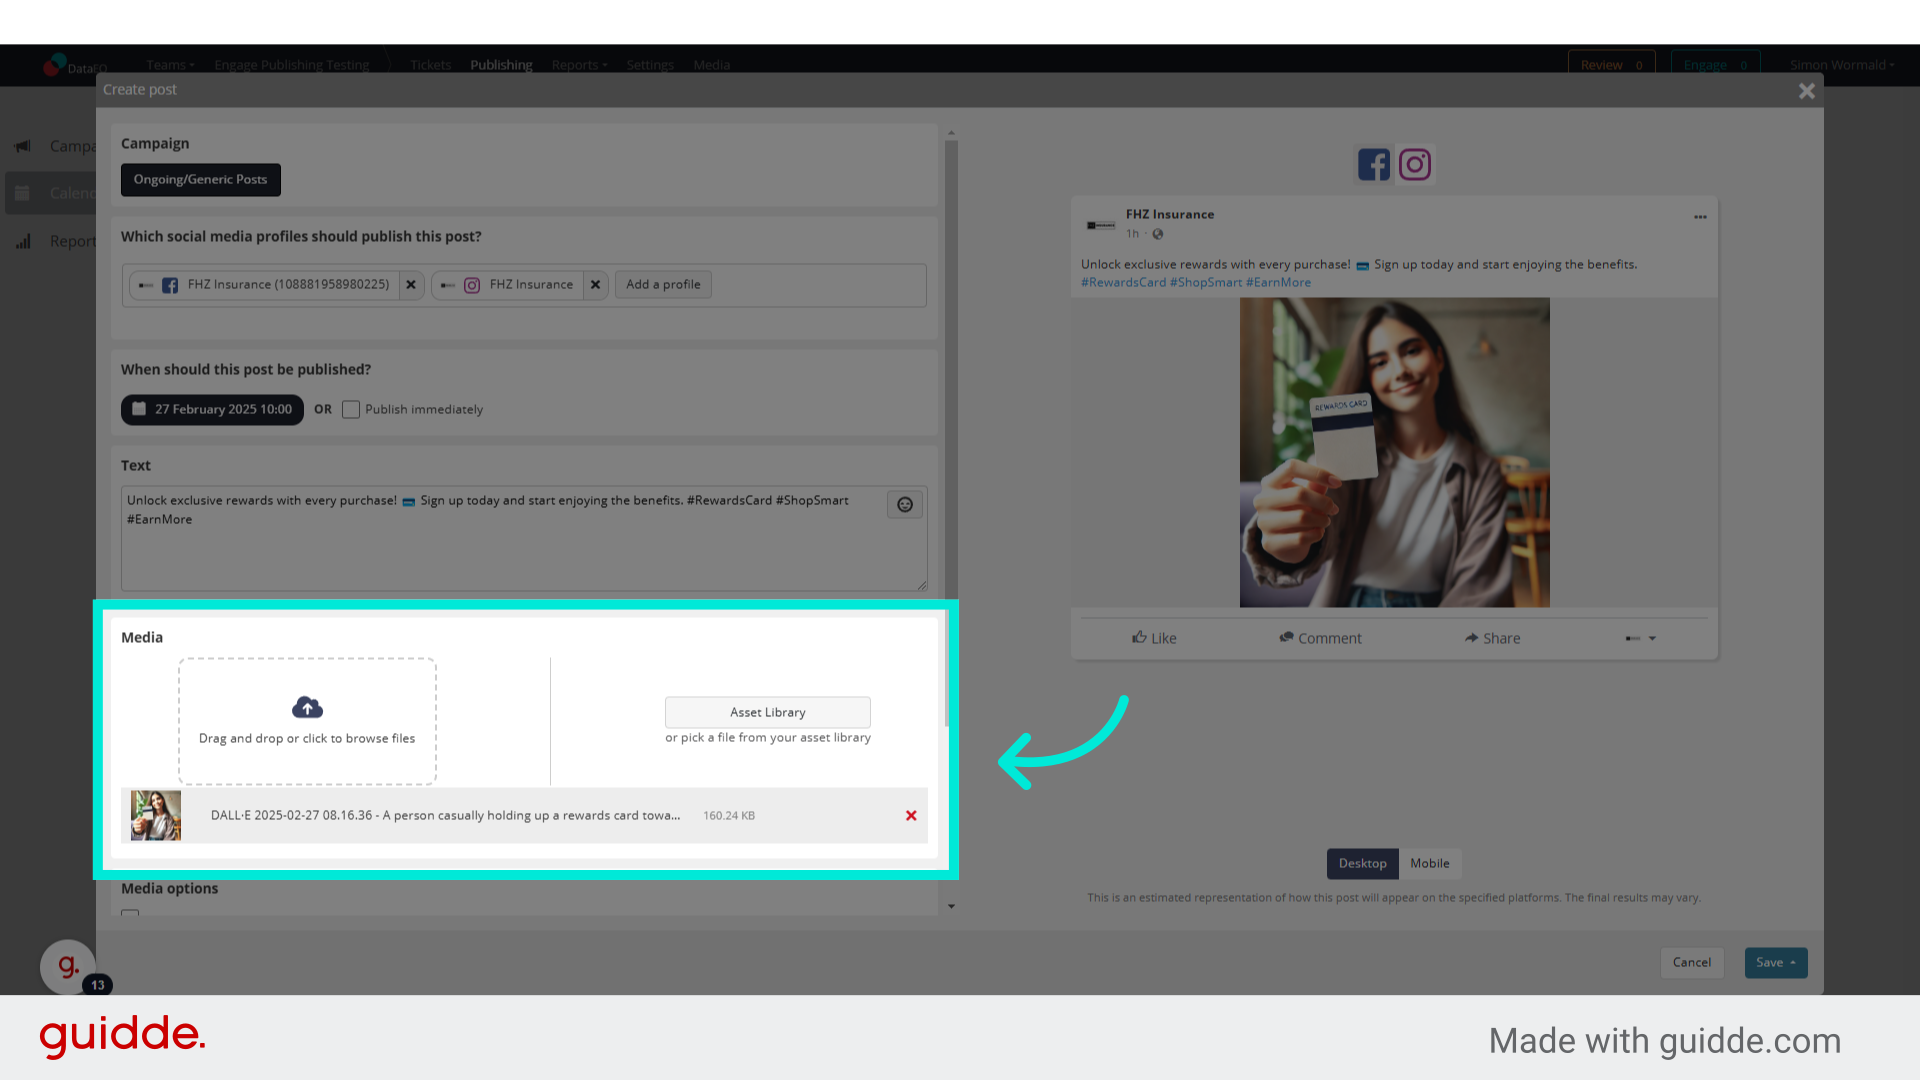
(Optional) Attach media (images, videos, or GIFs).
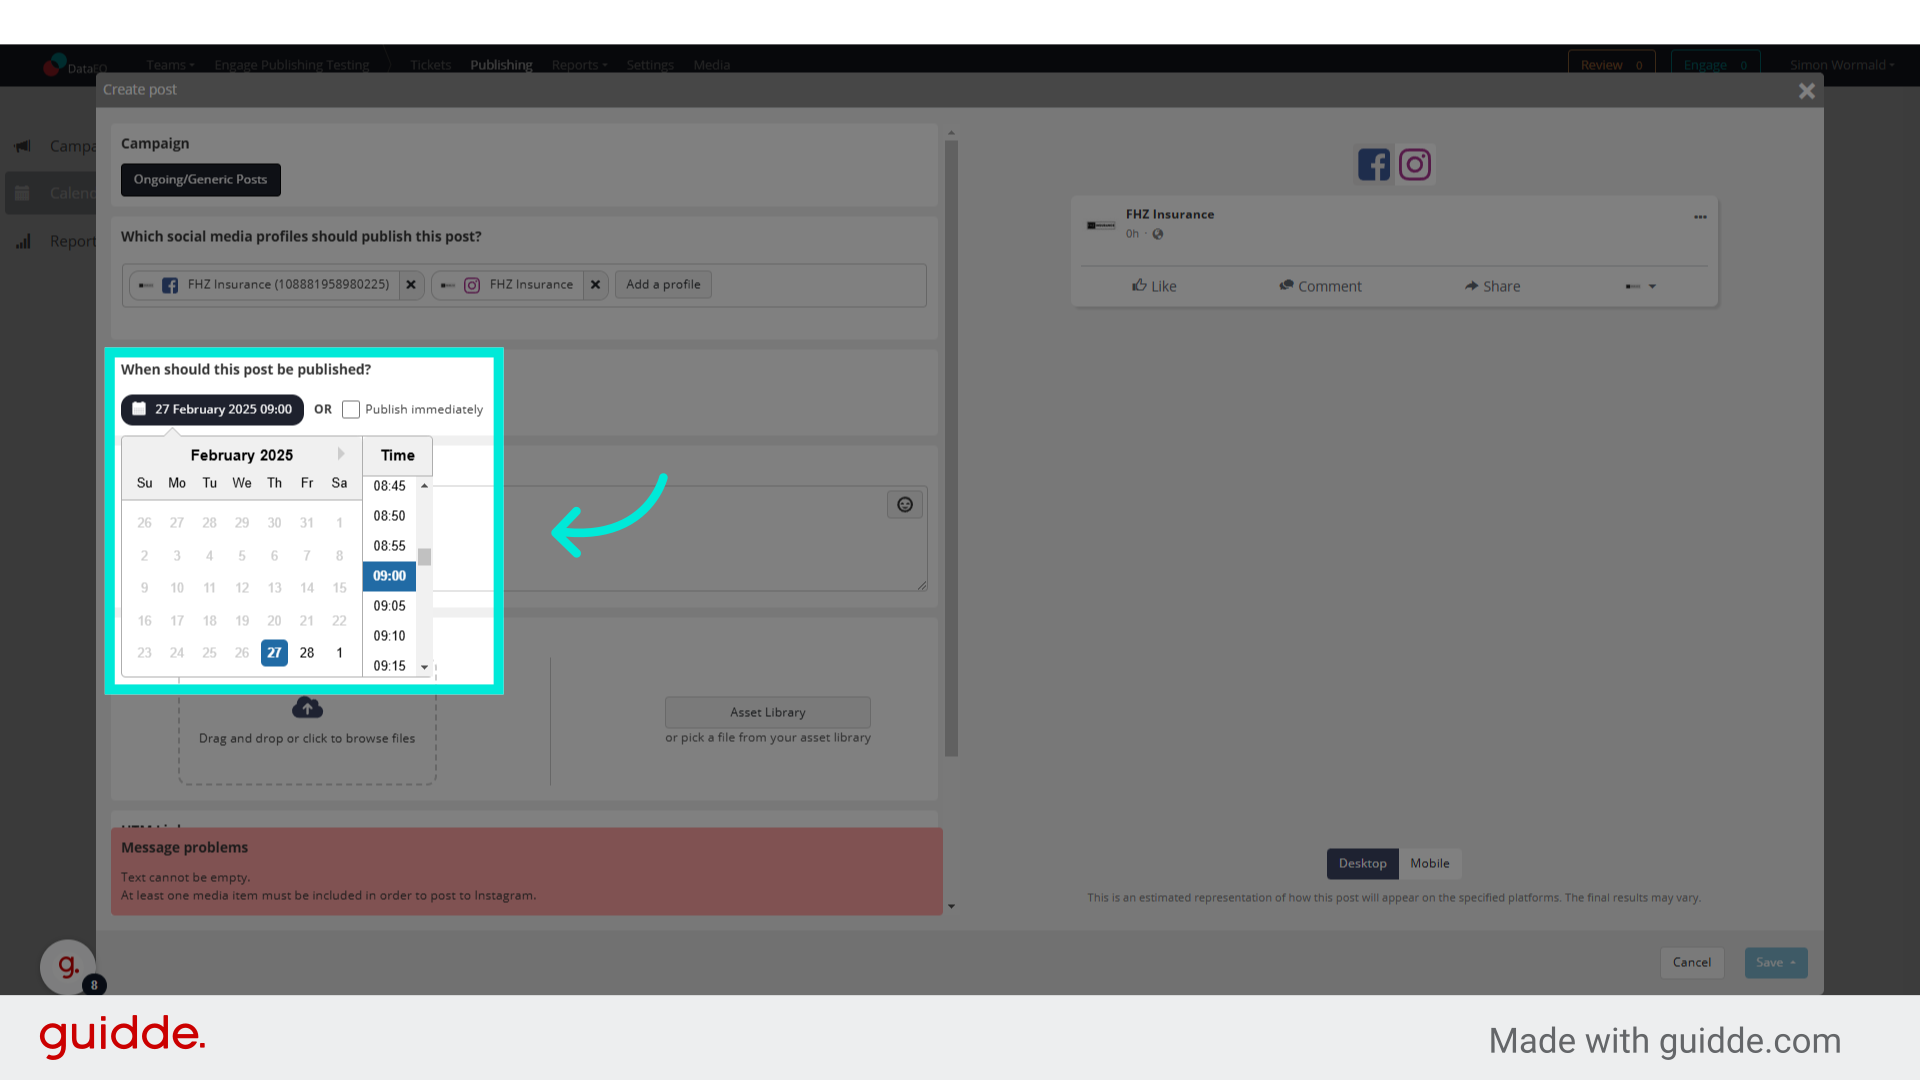
Step 2: Select a Publishing Date & Time
- Click on Schedule Post.
- Choose a date and time for the post to be published.
- Click Confirm Schedule to save.
Tip: The scheduled post will move to the Scheduled queue, where you can edit or reschedule if needed.
How to View and Manage Scheduled Posts
- Click on Content Calendar in the navigation menu.
- Locate the scheduled post in the calendar view.
- Click the post to edit, reschedule, or delete before it goes live.
Best Practices for Scheduling Posts
- Schedule posts in advance to maintain consistency.
- Avoid last-minute changes by finalising content before scheduling.
- Review scheduled posts regularly to align with campaign updates.
- Use optimal posting times based on audience engagement insights.
Troubleshooting Scheduling Issues
- Issue: “My scheduled post didn’t go live.”
- Ensure the correct date and time were selected.
- Check if the social media profile is authorised in Publish.
- Issue: “I need to reschedule a post.”
- Click on the post in Content Calendar and adjust the time.